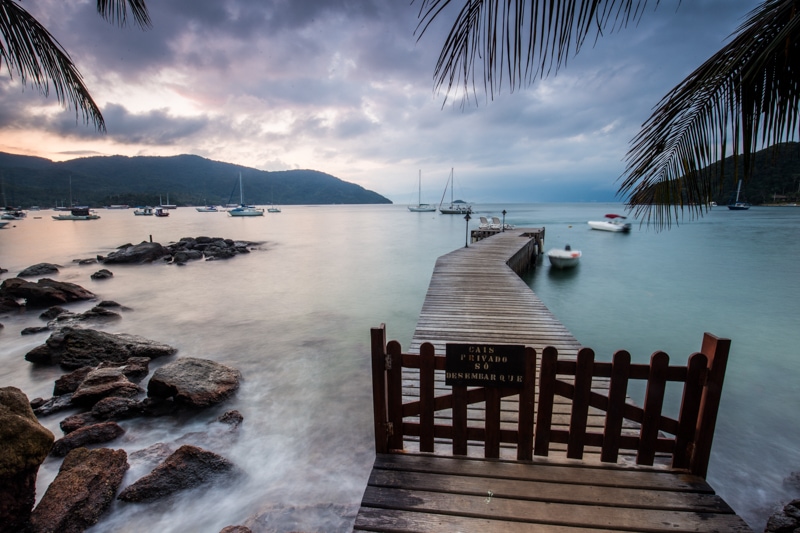
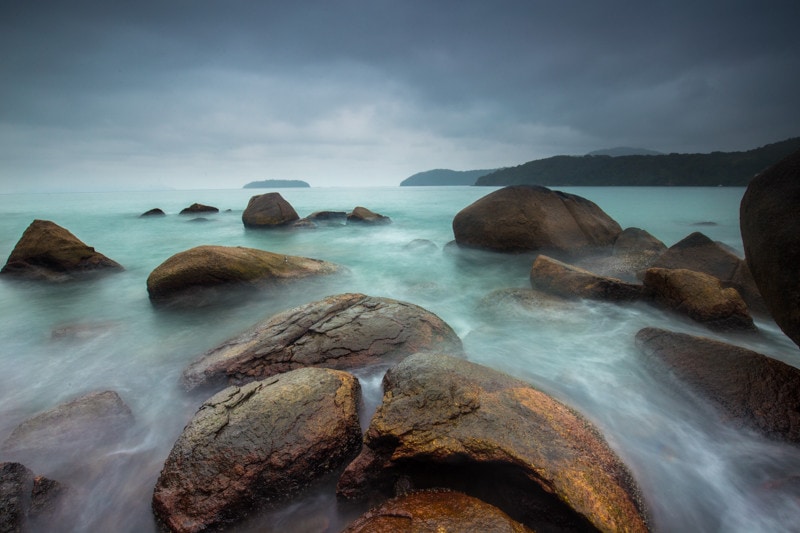
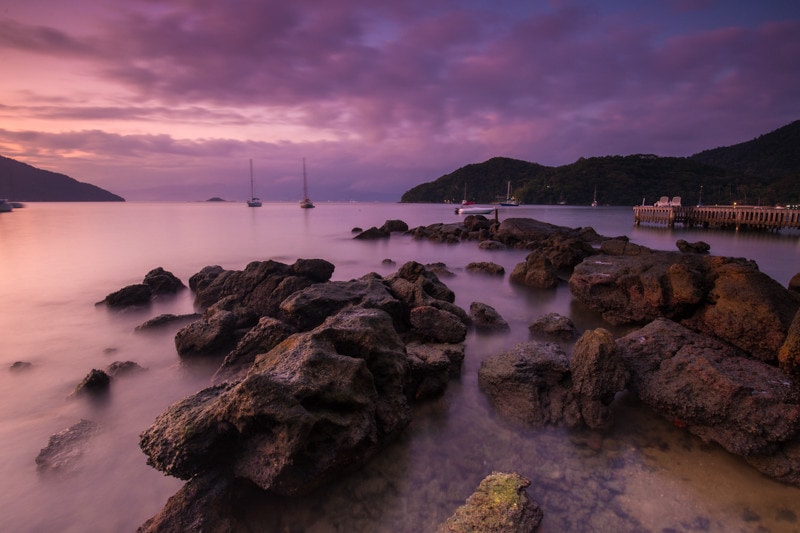
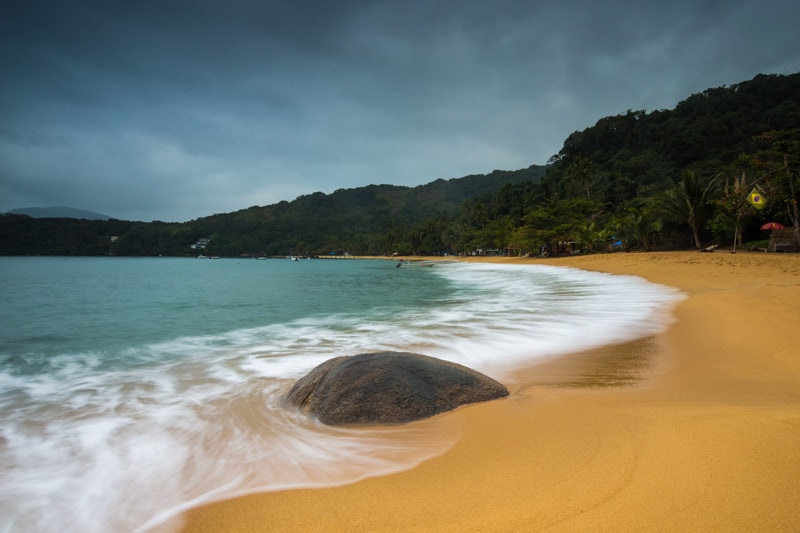
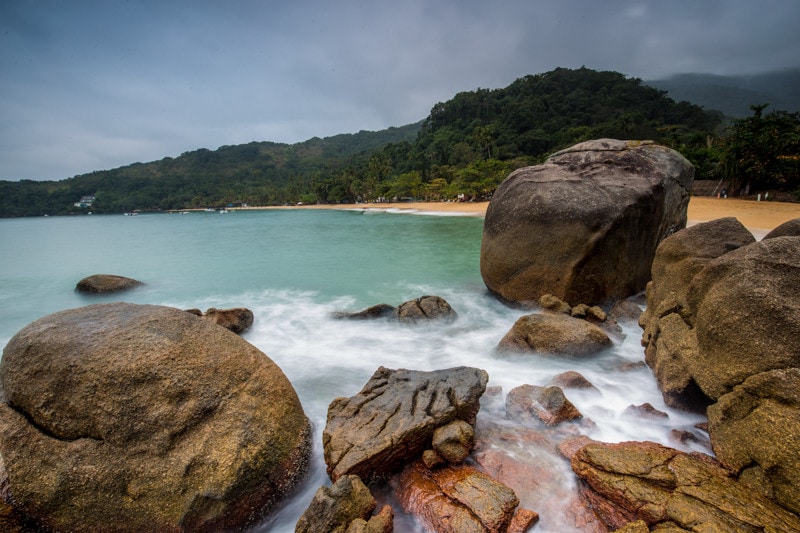
Seascape photography might actually be my favourite type of landscape photography. I love the challenge it presents. Not only do you have to find a cool location, and shoot the right light, but you’re also fighting elements like rogue waves, slippery rocks, and wild weather conditions. It’s what turns what otherwise might be seen as a “boring, wait for the light” style of photography into an adventure. I also love the way you can play with the seas with your exposures. You can create a variety of moods depending on how you shoot the exact same scene – creating wild seas or icy waters.
In this article, and the related video below, I visit Ilha Grande, Brazil. And well I’m there I give you my quick tips for seascape photography. And, yes, the tips are fairly basic. However, look for an “advanced” set of seascape photography tips coming in the near future as well.
Tip #1: Find a Great Location
This tip might seem really obvious. However, I see a lot of seascape images where people have literally just rocked up to the beach and shot the sand and the water. For cool seascapes you need to find an interesting scene. Personally, I like to find rocks. I feel like the sturdy and fixed nature of the rocks goes really well with the motion of the sea.
Like all forms of photography, you can’t just turn up somewhere and shoot. You need to scout for locations first, and then shoot them in the best possible conditions.
Tip #2: Photograph the Golden Hour
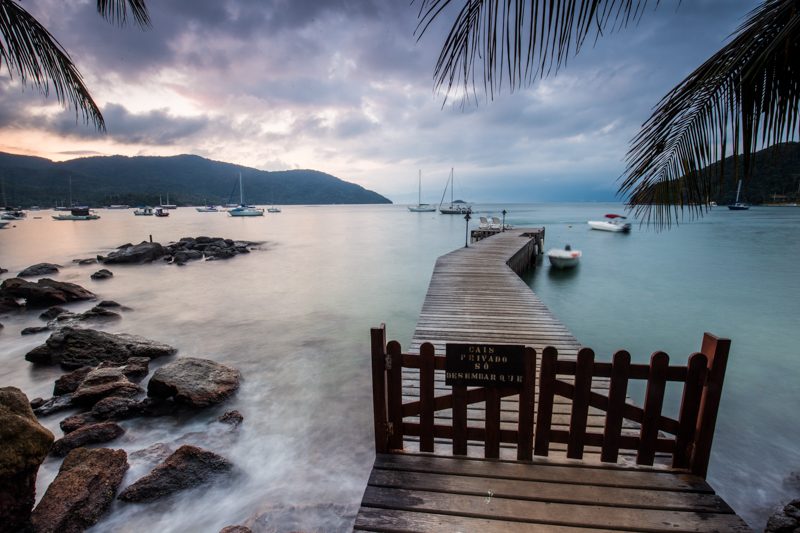
Photography is the art of capturing light, and great photography is about capturing the type of light that amplifies your image. In the case of seascapes, I feel like the best light is always found around sunrise and sunset – what we call the golden hour. This is the time of day when you get great colour in the sky, even exposures from softer light, and the ability to shoot longer exposures. This is the time of day you’re going to get that “wow factor” from images you create.
It should be said, however, that there are certain images that do actually look best in non-golden hour light. In the tropics, for example, if you’re trying to create a scene of a white sand beach and a palm tree that looks like paradise, it might be best to shoot this in the morning or evening yet outside the golden hours.
Tip #3: Find an Anchor for your Images
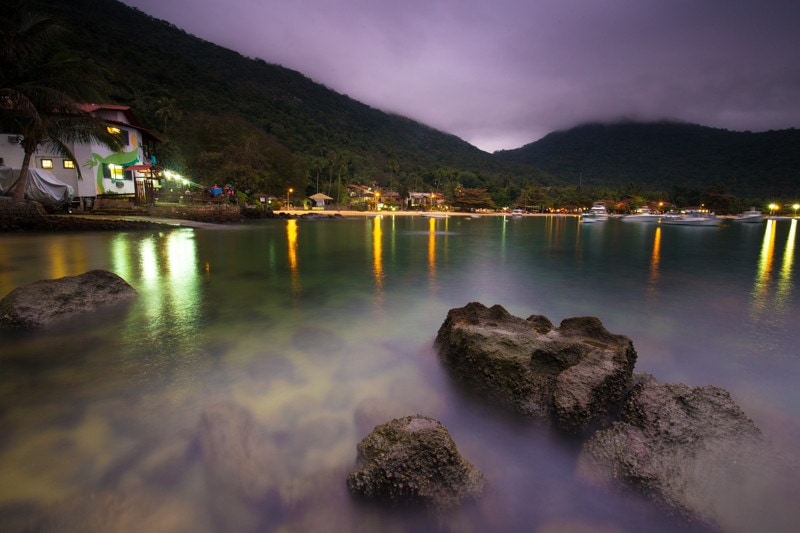
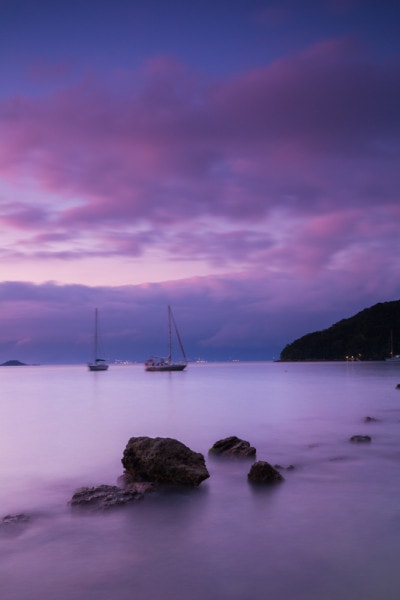
In almost all my favourite seascape photos there’s an anchor. An anchor is essentially a foreground element that ties the image down. It’s the first thing the viewer sees in the image, before moving off to explore the rest of the image. An anchor in a photo could be a rock in the foreground of the sea, or it could be stream of water leading into the sea, or really anything that draws the eye directly. Anchors are often the difference between a cool seascape photo and a powerful one.
Tip #4: Put a Human Element in your Seascape Photos
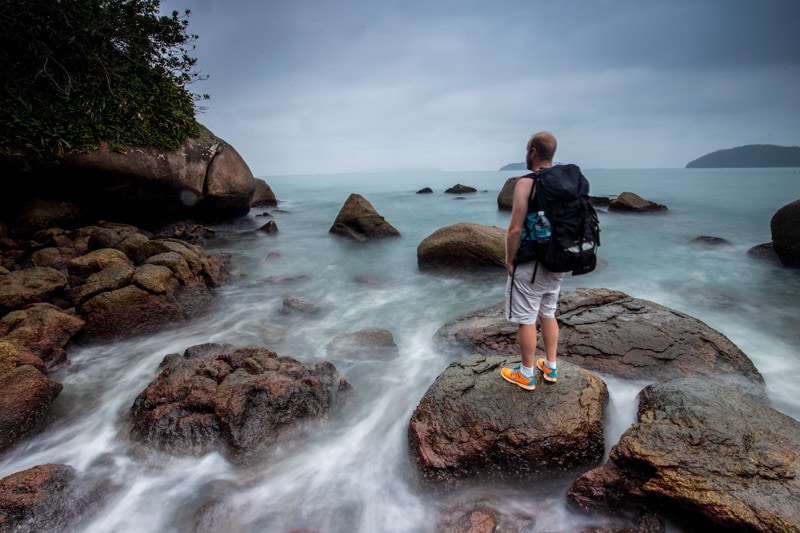
Adding a human element to your seascape photos does a lot of good. For one, it creates some scale. The sea can often come out as flat in images, but having a person somewhere in the shot can give the viewer an impression of how big the scene really is. Having a person in the photo also creates a human connection to the photo. Not only is the viewer thinking “wow, cool photo”, but perhaps even, “I wish that were me,” or “how cool would it be to be standing there!”.
There is certainly a trend towards a genre of landscape photography called “Big Landscape, Little Subject”, in which a human element is used in the photo. These images are extremely popular right now, and a lot of it comes down to the need for people to feel some sort of a personal connection to the photo. Simply adding a person to the image can make it all feel more real.
Tip #5: Sharpness is Everything in Landscape Photography
This tip should be an article in itself, and probably will be at some point. And, I should point out that sharpness is everything in most forms of photography. However, in landscape photography if you’re not getting sharp images, you’re doing something dreadfully wrong, and you’ll likely not be able to sell the photos anywhere if they’re not sharp.
These are my quick tips for sharper images:
- Use a tripod.
- Use a remote shutter release.
- Lock up your camera’s mirror (if it has one).
- Turn off your lens’ image stabilization (if it has it).
- Shoot the right aperture – f/9 – f/13 is best.
Tip #6: Use Filters for Seascape Photography
When people ask me when I saw a turning point in my photography, I often tell them it was when I started using filters for my photography. Filters really do change everything. Not only do they allow you to play with the length of your exposures, but Grad ND and Reverse Grad ND filters allow you to grab a properly exposed image in difficult lighting conditions. Landscape photography is one of the few forms of the art in which you can’t control the light. However, you can definitely manipulate it a bit using filters.
In the next couple months, I’m going to do a bit of a series on using filters, so be sure to stay tuned for that.
Tip #7: Simplify your Scene
It’s easy to look out at how awesome the world is and to want to capture it all. However, by trying to capture everything in one scene, you sort of lose the impact and the subject of the photo. When you’re looking for a scene or composition to shoot. Try to focus on one or two elements and then build your composition from there. Don’t worry about trying to capture everything, because that will only cause your photo to be too busy. Be minimalist in your initial compositions, and then build from there.
A Little About Ilha Grande, Brazil
Seriously, Ilha Grande is absolute paradise. And though the weather wasn’t good there when I was on the island, it was still fantastic. In fact, I really regretted the fact that I chose to only spend 3 days on the island. I really should have planned on spending an entire week.
One of the things I really wanted to do that I didn’t get the chance – because of the weather – was climb to the top of the island where there’s an amazing viewpoint. I think it would be a killer spot for sunset.
Other than the island itself, there is a great vibe out on Ilha Grande. The hostel – I stayed at Che Lagarto – was always buzzing with activity, and a fantastic place to meet people. I met an awesome group of people out on Ilha Grande, and had a great time out there. There are places on my Brazil trip that I plan on re-visiting next year, and this is definitely one of them.
What’s Next on the Travel Photography Blog
Although in the video I mention that I’m off to Rio de Janeiro next, I’ve actually got a video from Paraty, Brazil before that. Then, after those two destinations I’ve got some cool new locations such as Olinda, Jericoacoara, and the Brazilian Amazon. Be sure to stay tuned.

